HAProxy on AWS using ansible

HAPROXY
HAproxy is free, open-source software that provides a high availability load balancer and proxy server for TCP and HTTP-based applications that spreads requests across multiple servers. It is written in C and has a reputation for being fast and efficient.
RED HAT ANSIBLE
Ansible is a radically simple IT automation engine that automates cloud provisioning, configuration management, application deployment, intra-service orchestration, and many other IT needs.
Ansible is Designed for multi-tier deployments, Ansible models your IT infrastructure by describing how all of your systems inter-relate, rather than just managing one system at a time.
RED HAT ANSIBLE ROLES
ansible roles provide a framework for fully independent, or interdependent collections of variables, tasks, files, templates, and modules.
In ansible, the role is the primary mechanism for breaking a playbook into multiple files. This simplifies writing complex ansible playbooks, and it makes them easier to reuse. The breaking of the playbook allows you to logically break the playbook into reusable components.
APACHE WEB SERVER
The Apache HTTP Server, colloquially called Apache, is a free and open-source cross-platform web server software, released under the terms of Apache License 2.0. Apache is developed and maintained by an open community of developers under the auspices of the Apache Software Foundation.
Task Objective:
1. Provision EC2 instance through ansible.
2. Retrieve the IP Address of the instance using the dynamic inventory concept.
3. Configure the webserver and HAProxy through ansible Role so we can use this infrastructure for our website!

NOTE: all the source code is in GitHub. the link provided in the last
Let’s Get Started
make sure you have the following prerequisite satisfied on your controller node

https://boto.readthedocs.io/en/latest/boto_config_tut.html
step 1: Setup dynamic inventory
As we are going to implement this task on AWS so we don’t know about IP(No instance by default) so we can not use static inventory but we have some ways to get IPs on the fly after provisioning an instance using dynamic inventory scripts.
the dynamic inventory can be created using some script and the following is the link for that script
https://raw.githubusercontent.com/ansible/ansible/stable-1.9/plugins/inventory/ec2.py
https://raw.githubusercontent.com/ansible/ansible/stable-1.9/plugins/inventory/ec2.ini
Both files need to be in executable format:
chmod +x ec2.py
chmod +x ec2.ini
After that, you need user credentials for accessing AWS. As ec2.py make an API call to AWS for your requirement. so we need to set 2 environment variable in the following file
Create one file at  '~/'    with name ".boto"// add following data in file [Credentials]
aws_access_key_id = <your_access_key_here>
aws_secret_access_key = <your_secret_key_here>
Add the inventory file in the ansible.cfg As:
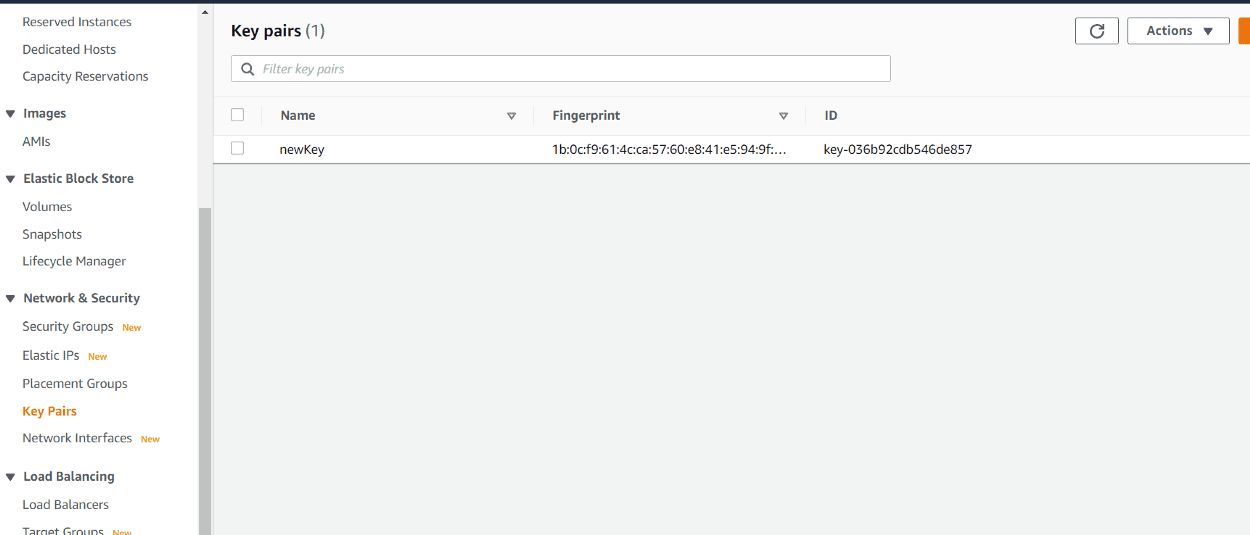
Note: we also need a private key file because EC2 uses key-based authentication
[defaults]inventory = ./ec2.pyremote_user = ec2-userdeprecation_warnings = Falsehost_key_checking = Falseinterpreter_python = auto_silentprivate_key_file = newKey.pemroles_path = rolesask_pass = False[privilege_escalation]become=truebecome_method=sudobecome_user=rootbecome_ask_pass=False
step 2: Provision EC2 instance.
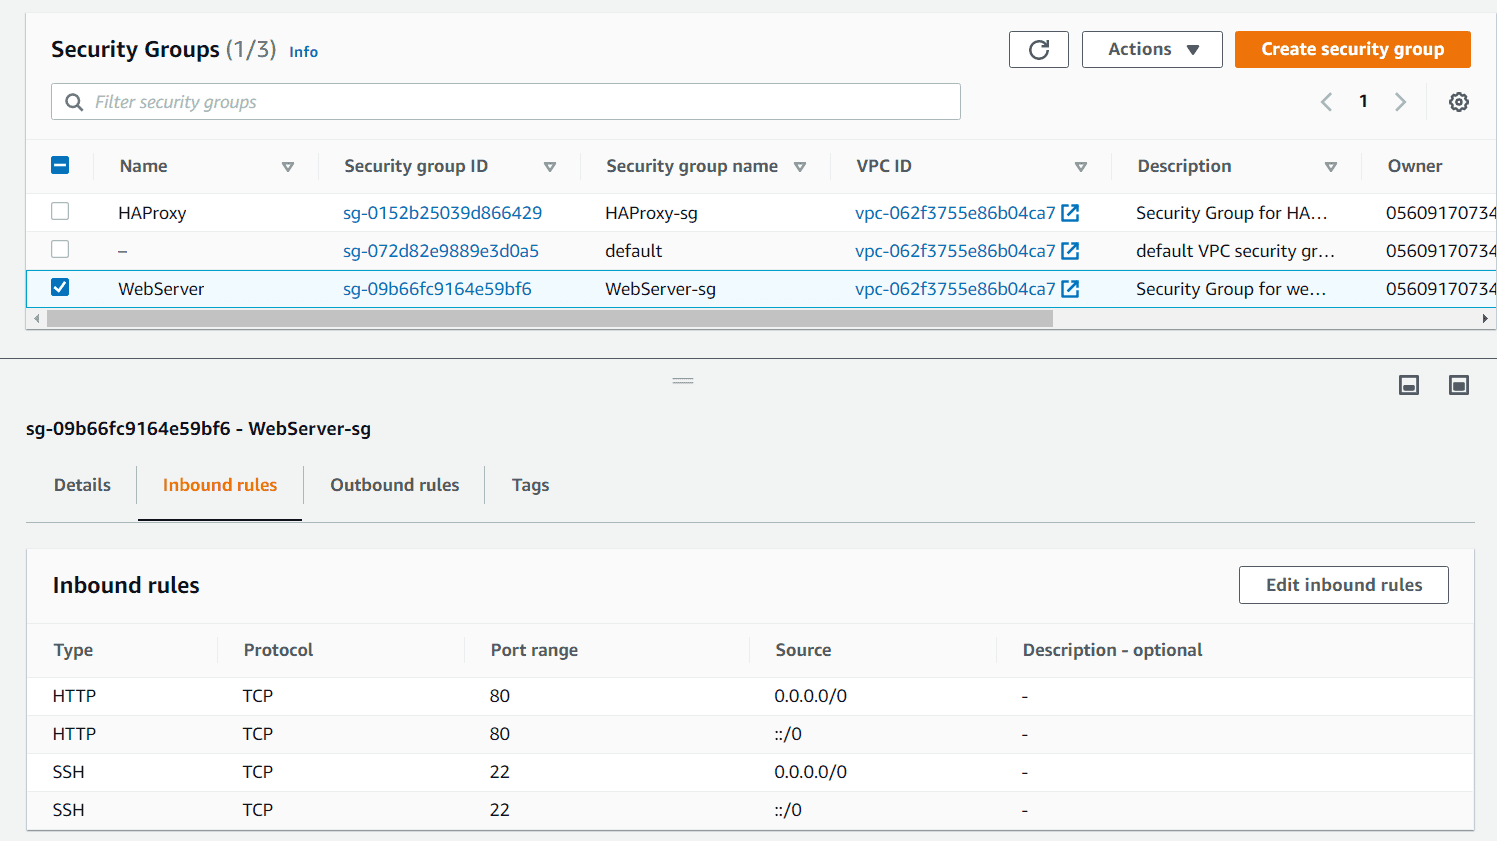
Run the playbook EC2.yml to provision instance. In this playbook, pass all parameters according to your requirements.
To run Playbook use the following command.
ansible-playbook FileName.yml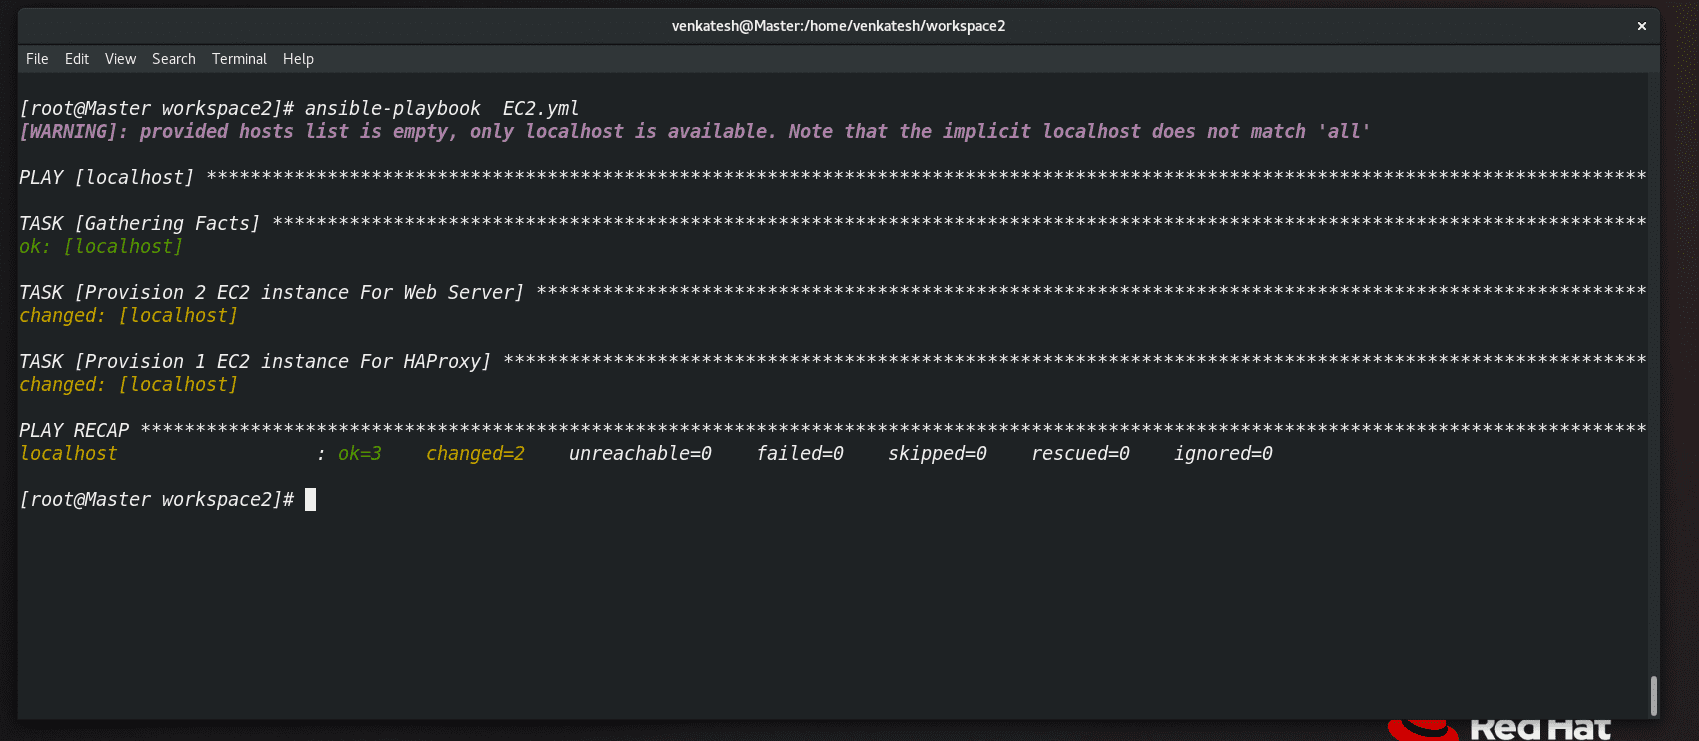
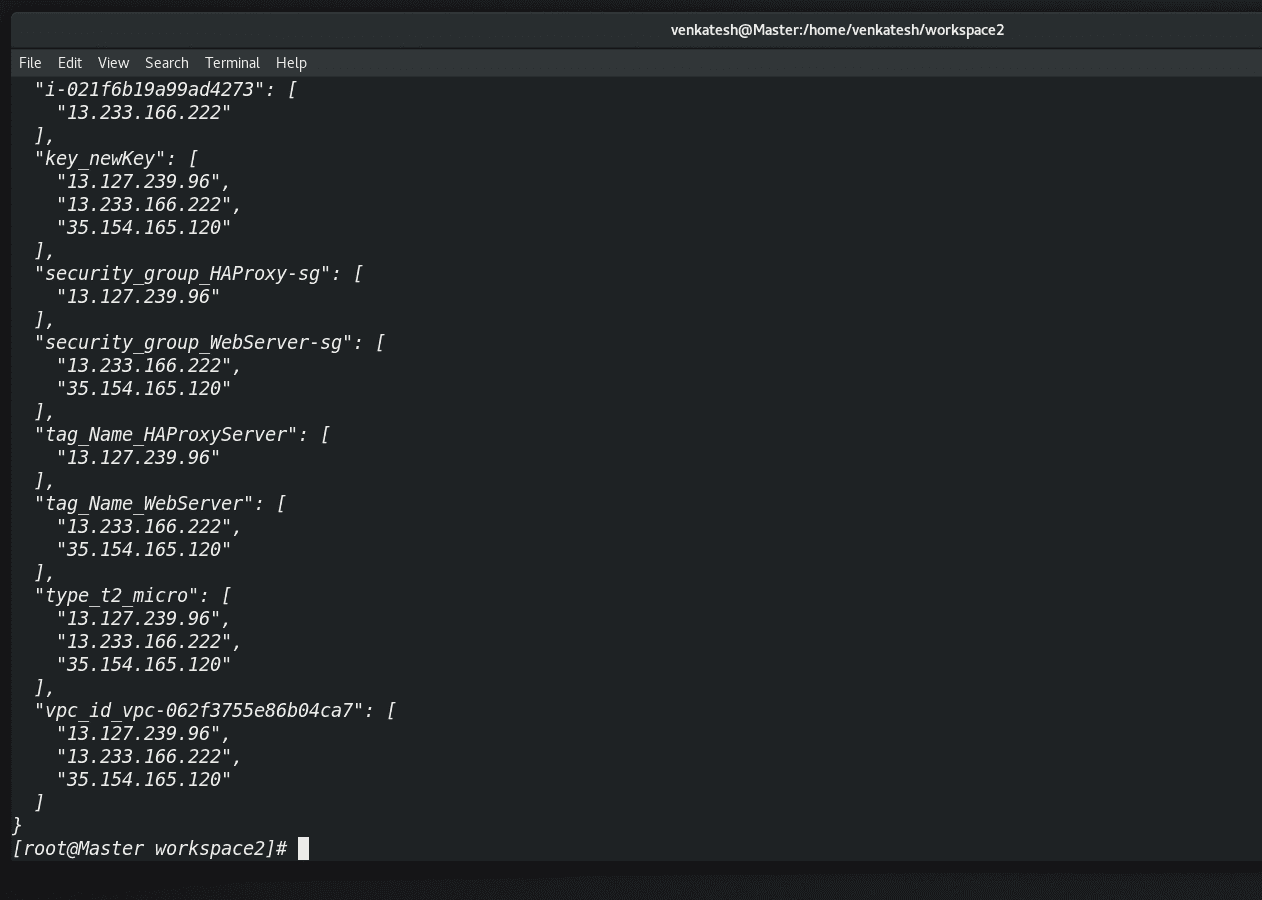
if you wanted to see your dynamic inventory Run the ec2.py file on the command line
./ec2.py // run the command on terminalHere tag_Name_HAProxyServer and tag_Name_WebServer are the names of your proxy server and web server you need to use this name whenever you need to configure them.

step 3: Connect to the managed node
to check the connectivity of the managed node run the following command.
ansible all -m ping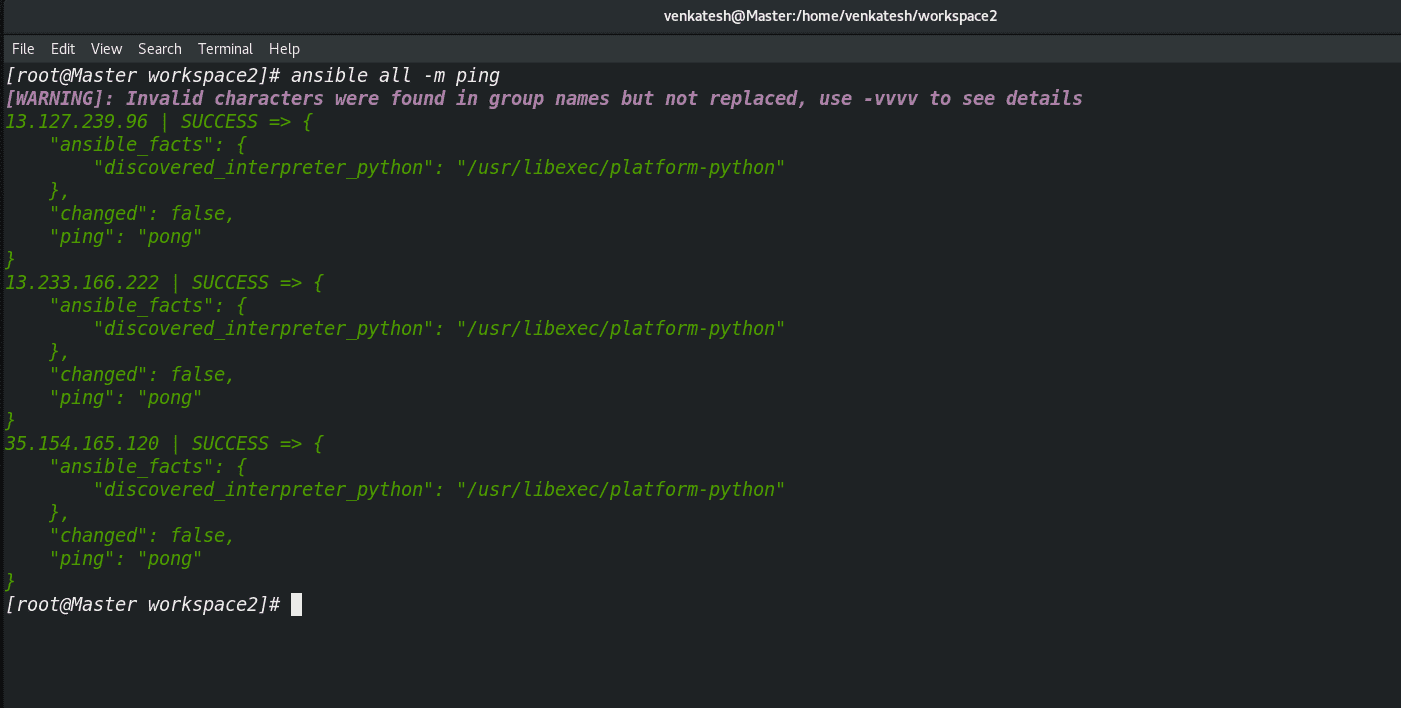
step 4: apply the roles to create a webserver and haproxy
Run the playbook SetUp.yml to configure the instance. In this playbook, pass all parameters according to your requirements.
Note: here we don’t have a hostname but we can use tags as a hostname
All the roles are given in my Github repo
folder name is
- apache
- HAPROXY
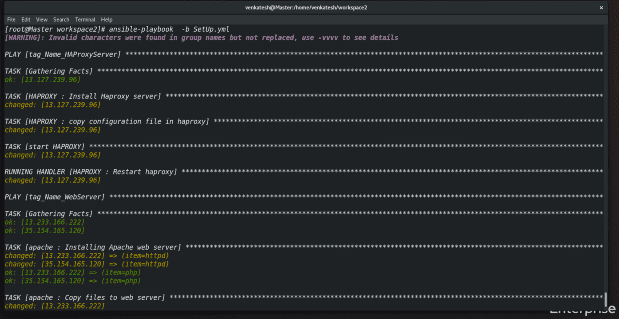
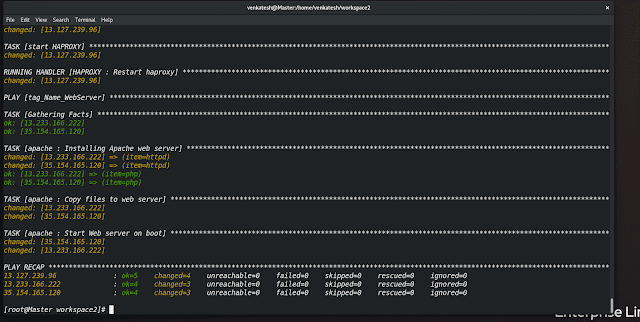
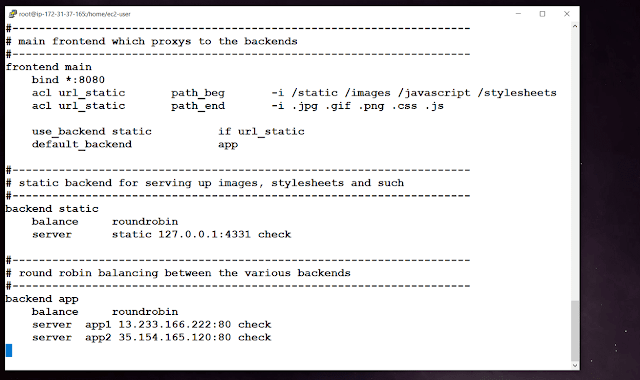
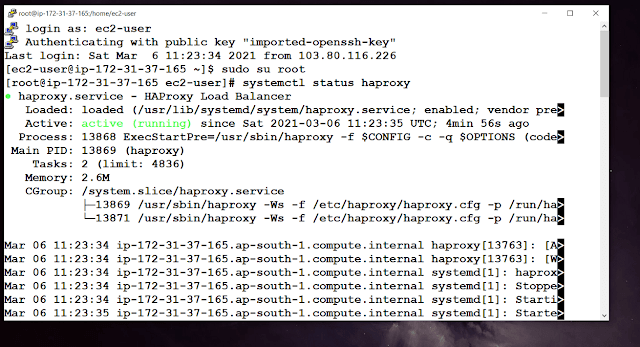
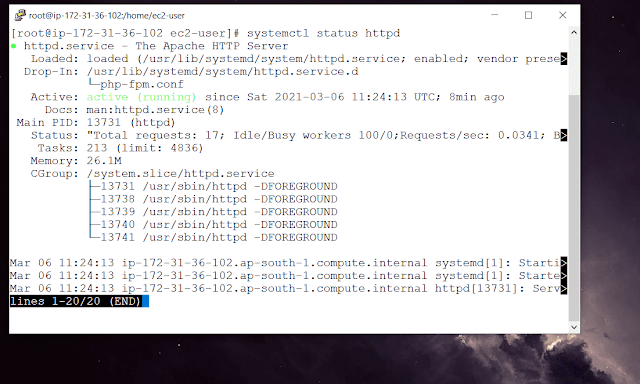
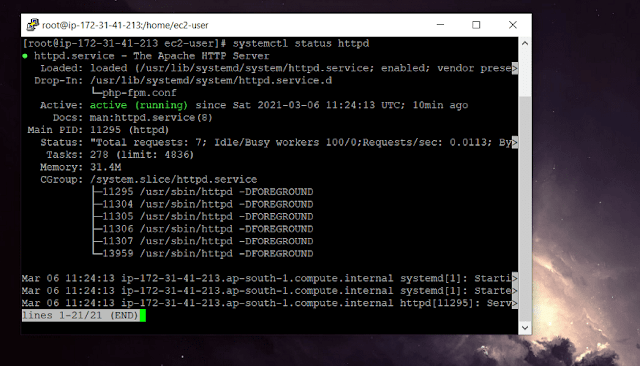
Finally, we are ready with our reverse proxy that is haproxy in the following images you can see haproxy working fine, and they did work of load balancing.
to access use the following URL in the browser.
http://"haproxy server ip":"listening port" 

GitHub Link:
https://github.com/venkateshpensalwar/ARTH/tree/main/Ansible/Configure%20HAPROXY_AWS
Conclusion:
In this ansible tutorial, we have learned how to configure Haproxy Software using the ansible playbook on AWS. In this way, we can see that how easily we able to configure such a complex task using ansible roles. and this is the power of ansible roles in the configuration world.
Hope this blog is helpful to you!!!!


When you are looking for hosting packages to provide online visibility for your website, it is advisable to research on the kinds of services you will expect to get from a web host. When you choose dedicated server hosting plans, you can enjoy unlimited resources from the hosting provider. https://onohosting.com/
ReplyDelete