How to create kubernetes multinode cluster
Following are the steps to set up the Kubernetes cluster.
1. Create Ec2 role.
2. Create k8s-Master role.
3. Create k8s-Worker role.
4. apply Ec2 role to provision AWS instance.
5. apply k8s-Master and k8s-Worker to configure the Kubernetes cluster over that instance.
Note: all the code that i will use will get it on my GitHub link is at the last.
step1: create Ec2 role.
To create a role run the following command.
ansible-galaxy init "role name"
we are using dynamic inventory here so it gives us IP after ec2 instances get launched. if you don't know to set up dynamic inventory please go through the following article:
https://all-about-devops.blogspot.com/2021/03/haproxy-on-aws-using-ansible.html
you need to pass all your arguments in the vars/main.yml file as a key-pair value it will be called automatically by the following play
this ansible-playbook has many arguments that we need to provide to launch ec2 instances.
region: "AWS region to launch instance"
key_name: "private key to login in"
instance_type: " instance type according to resources"
image: " os image like Linux, ubuntu"
wait: "give time to get his desired state"
group: "security group"
count: "how many instances you want"
vpc_subnet_id: "subnet id"
assign_public_ip: "public IP so we can connect"
instance tag: "name to be given to instance"
| --- | |
| - name: Launch Kubernetes Master | |
| amazon.aws.ec2: | |
| region: "{{ region }}" | |
| key_name: "{{ key }}" | |
| instance_type: "{{ instance_type_Master }}" | |
| image: "{{ image_Master }}" | |
| wait: yes | |
| group: "{{ security_group_Master }}" | |
| count: "{{ count_Master }}" | |
| vpc_subnet_id: "{{ subnet_id_Master }}" | |
| assign_public_ip: yes | |
| instance_tags: | |
| Name: "{{ instance_tag_Master }}" | |
| - name: Launch Kubernetes Slave | |
| amazon.aws.ec2: | |
| region: "{{ region }}" | |
| key_name: "{{ key }}" | |
| instance_type: "{{ instance_type_Slave }}" | |
| image: "{{ image_Slave }}" | |
| wait: yes | |
| group: "{{ security_group_Slave }}" | |
| count: "{{ count_Slave }}" | |
| vpc_subnet_id: "{{ subnet_id_Slave }}" | |
| assign_public_ip: yes | |
| instance_tags: | |
| Name: "{{ instance_tag_Slave }}" |
now we will apply this play using following command:
ansible-playbook "playbook name.yml"
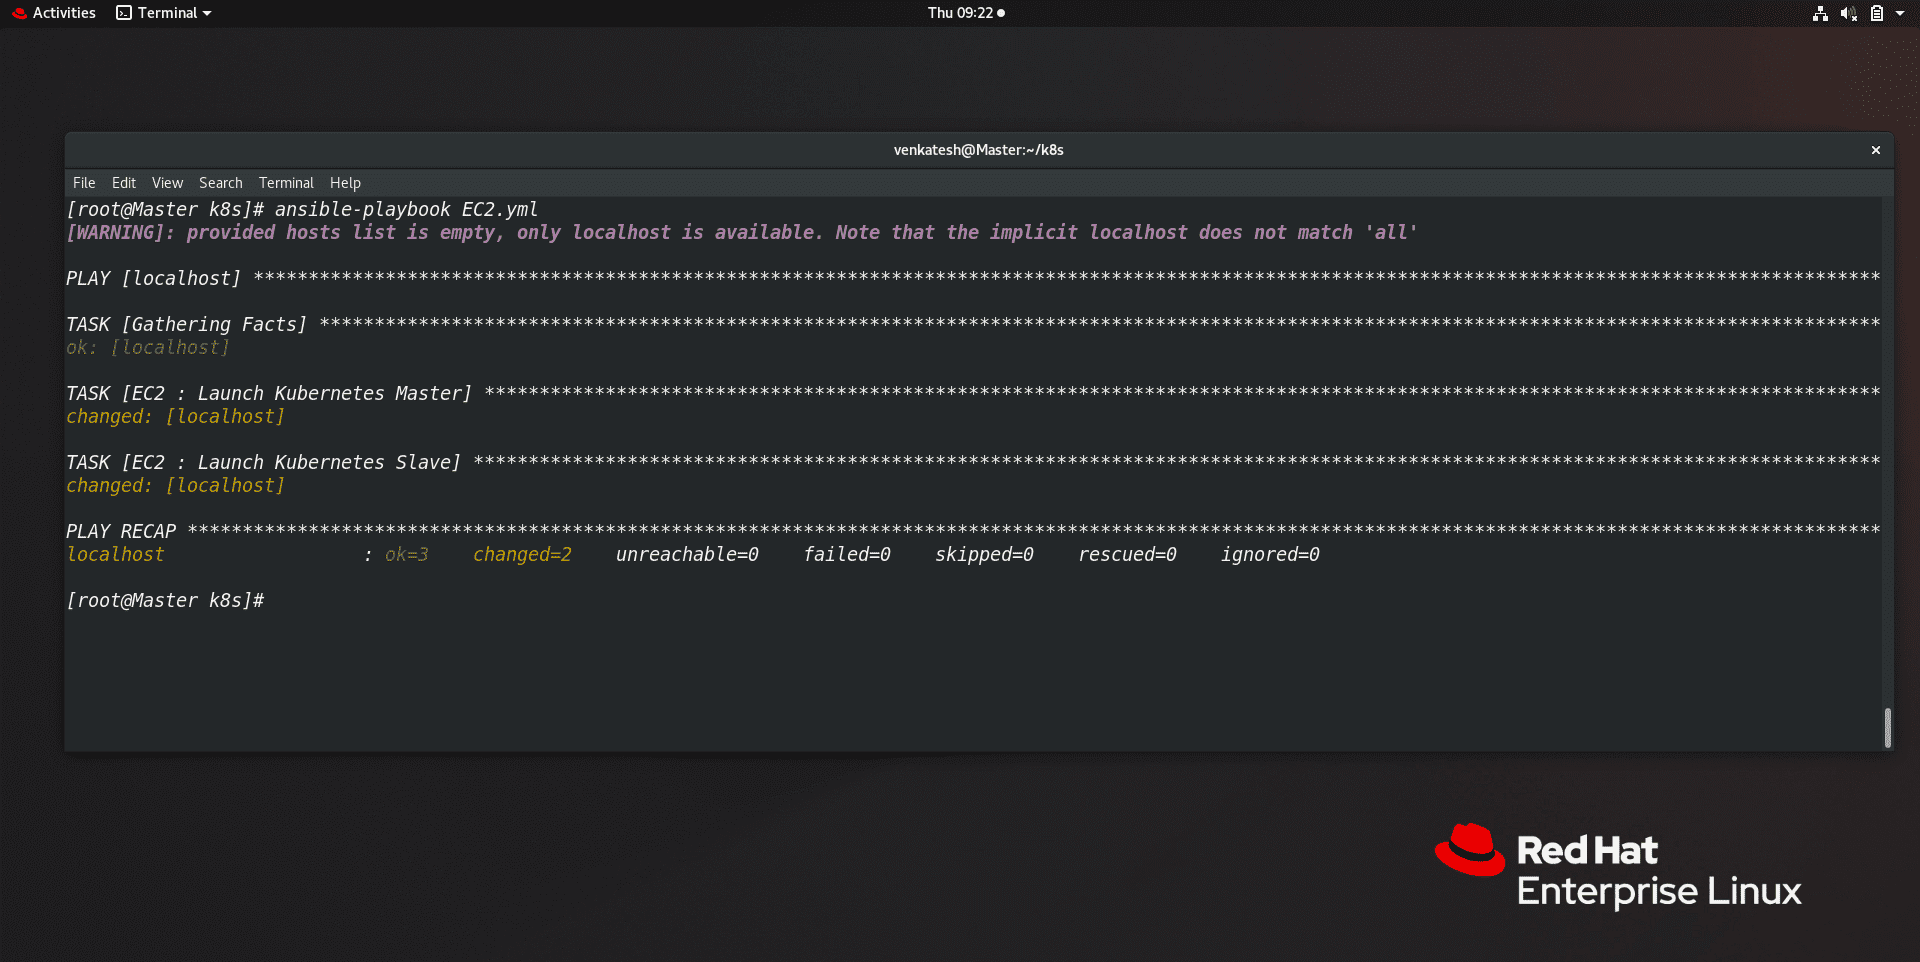
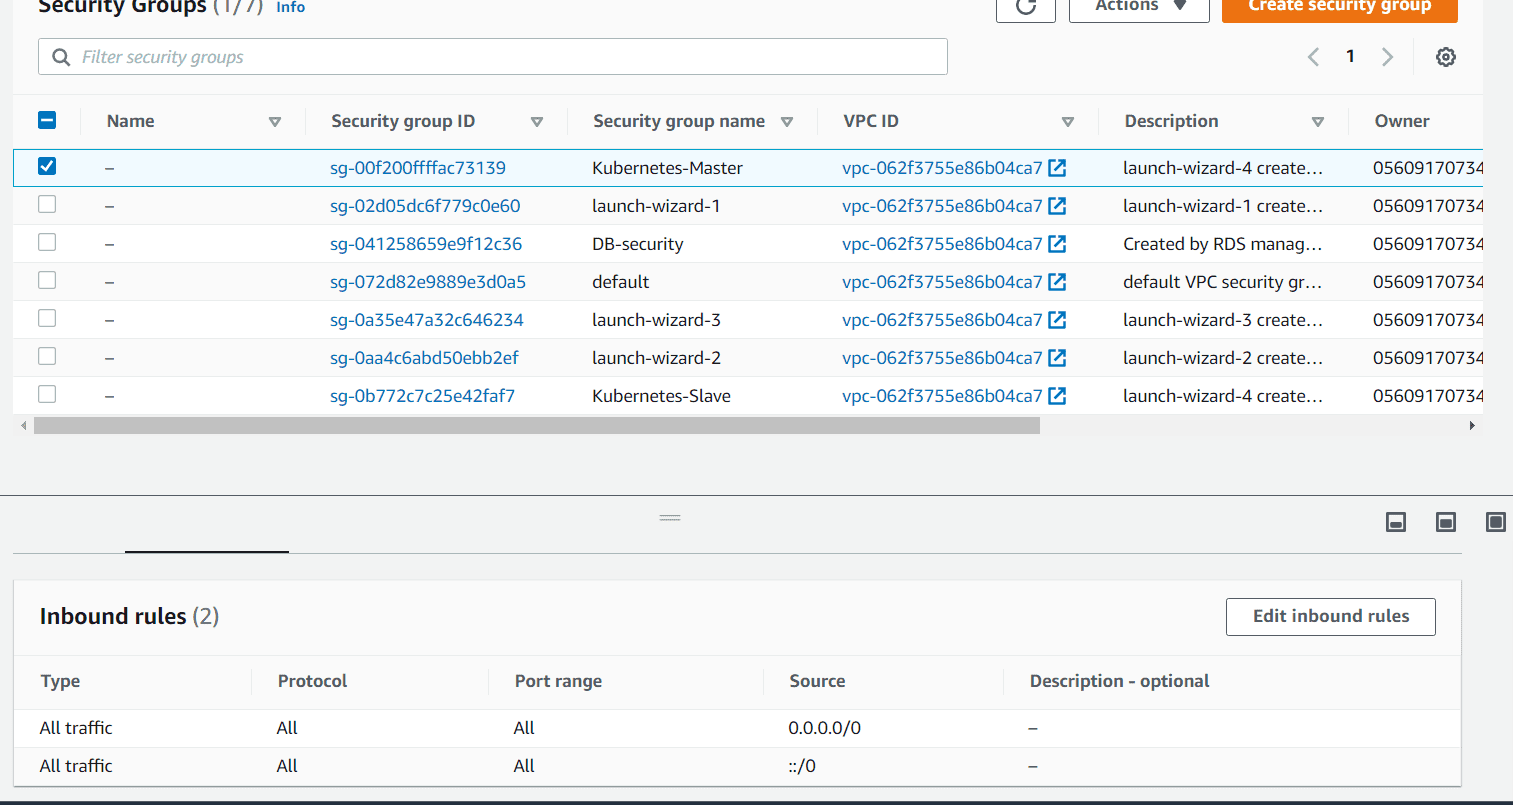
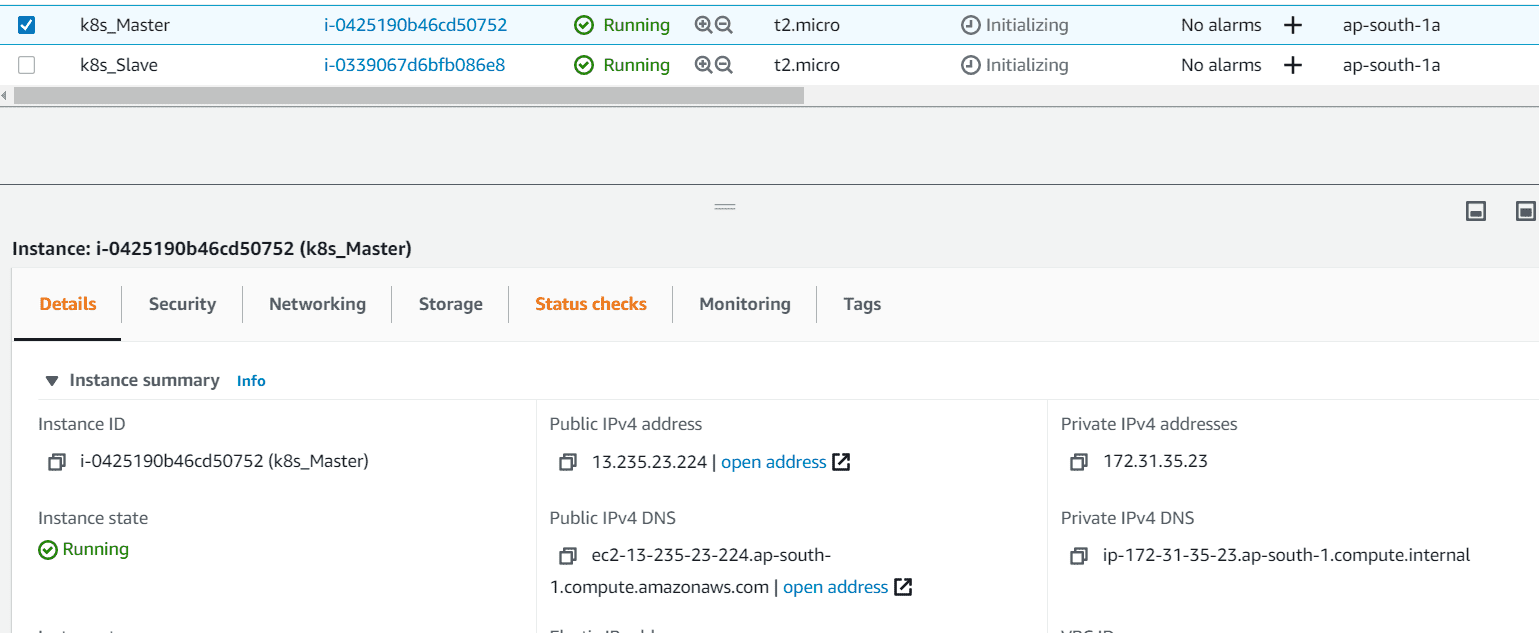
Now we will check we can able to connect with these instances or not using ansible.

to check other attributes we can run the ec2.py file which is helping us to get instance Ip's dynamically run this file as follows:
./ec2.py
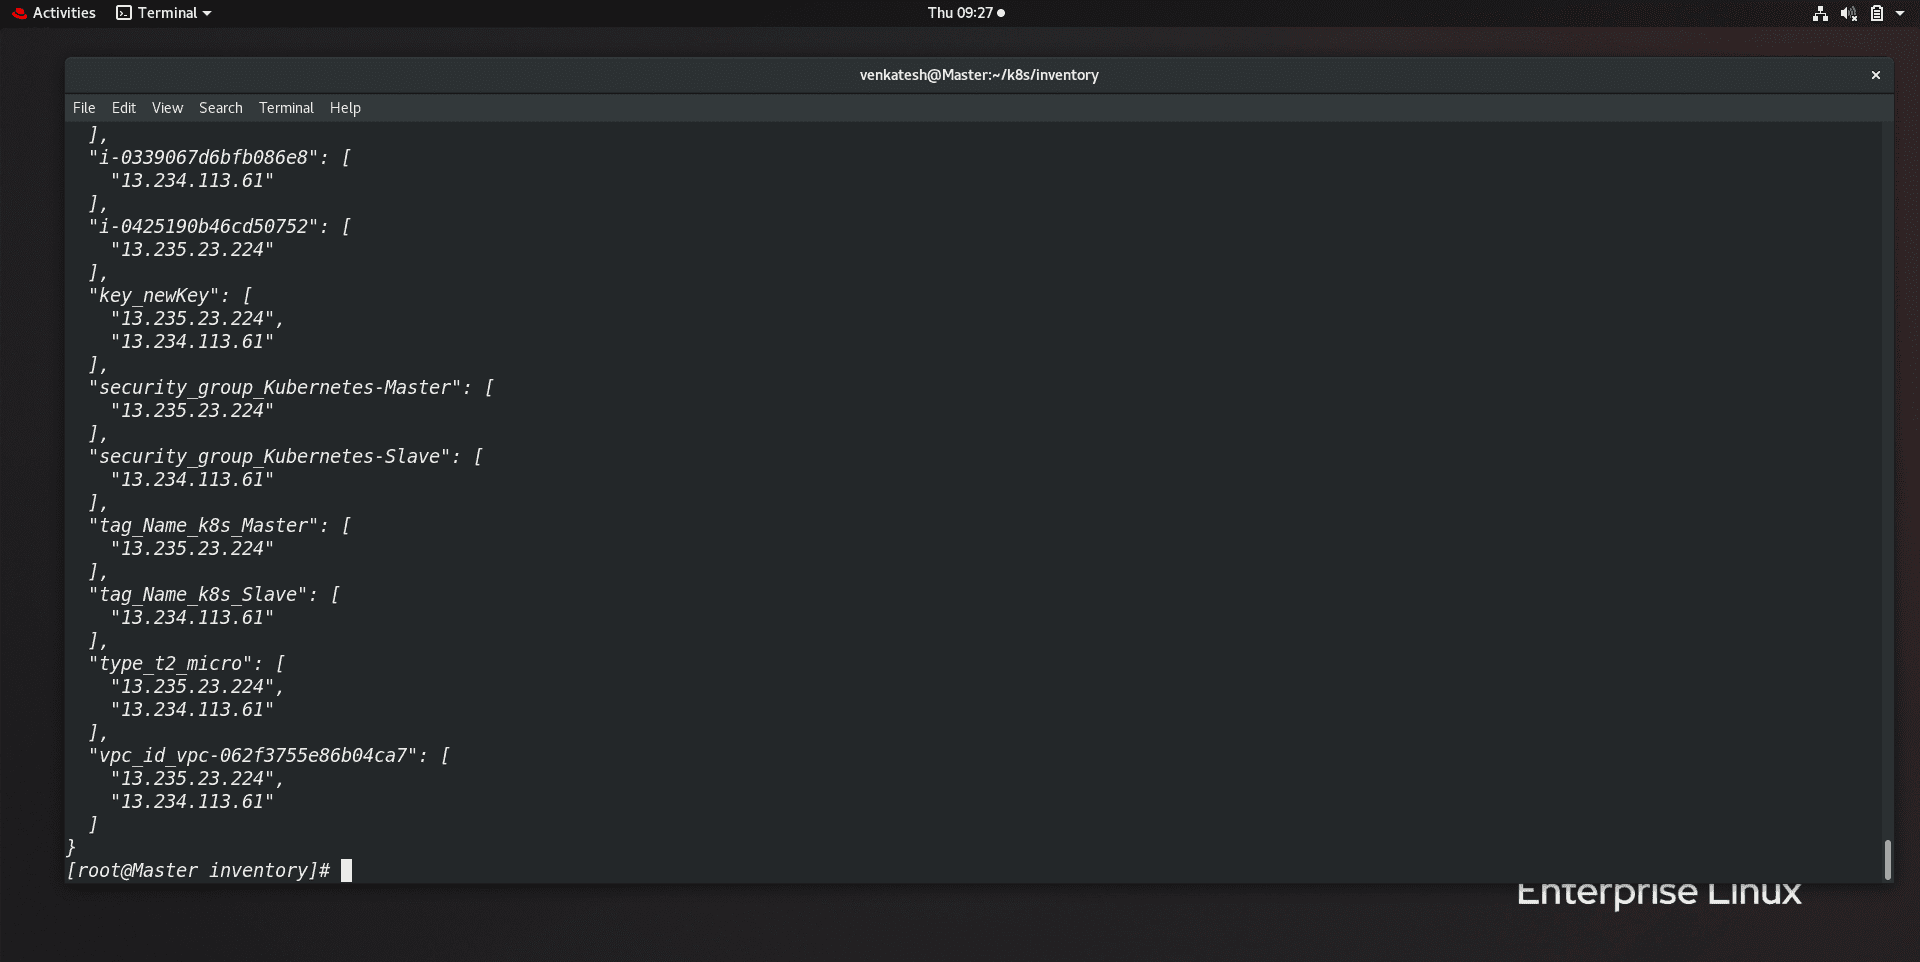
now we have our two instances ready to use but they are not configured with Kubernetes so in the following steps we will set up master and worker for the cluster.
step2: Create k8s-Master role.
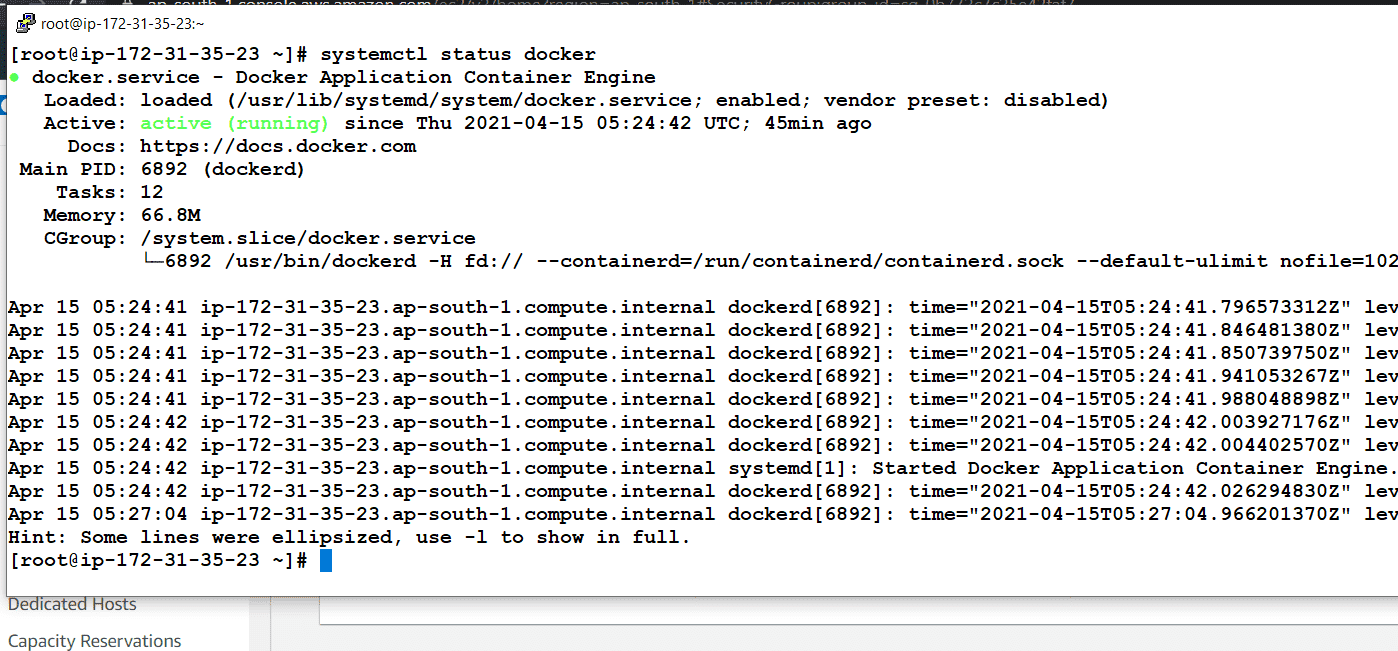
First, we will launch the role using an ansible-galaxy named k8s-Master. so for Kubernetes, we need docker because Kubernetes just use docker to launch container and Kubernetes only manage those containers by wrapping it in the box called a pod.
also, we need the following packages we need for the Kubernetes to set up Master:
kubelet:
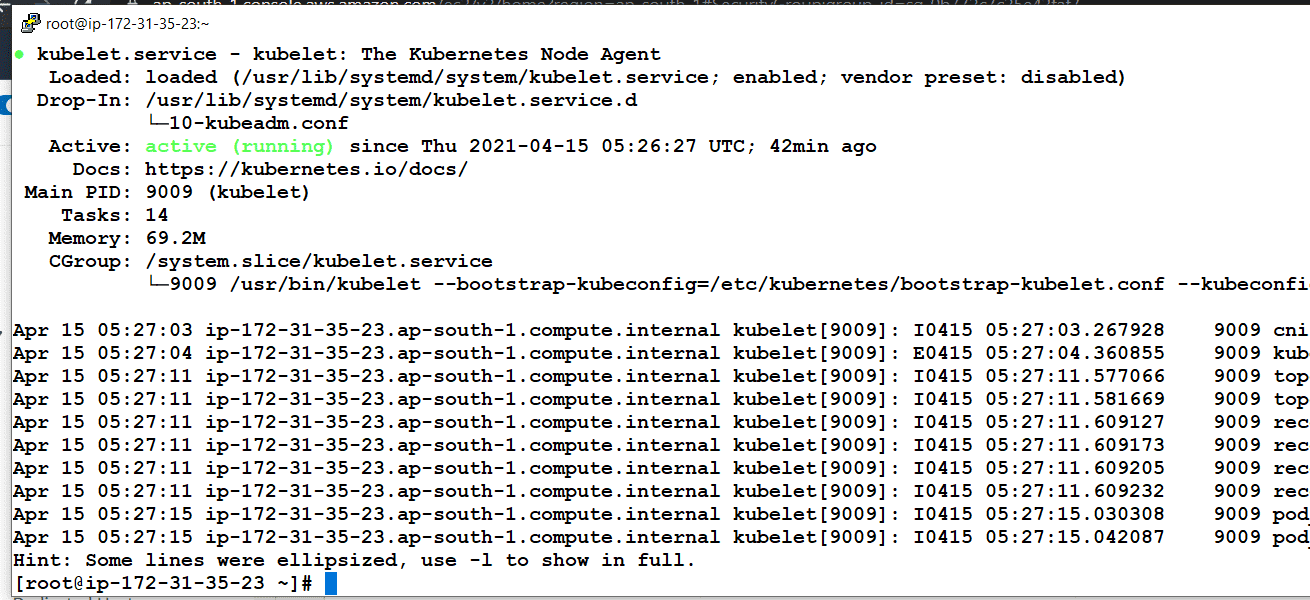
it is an agent that runs on each node in the cluster. it makes sure that containers are running in a pod.
kubectl:
kubectl is a command-line tool to run against Kubernetes to take your command and get results.
kubeadm:
it is an agent that actually sets up the Kubernetes cluster on instances.
iproute-tc:
it is needed to see routes by Kubernetes.
After this, we need to configure some files related to docker and iptables of k8s.
In docker, we need to change cgroup driver to systemd because Kubernetes supports systemd.
After that, we need to set up some iptables related settings so that Kubernetes can see all routes and proxies. all the files that we need I have uploaded on Github you can refer to files:
after that we need to initialize our cluster set up following command we need to use:
kubeadm init --pod-network-cidr=10.244.0.0/16 --ignore-preflight-errors=NumCPU --ignore-preflight-errors=Mem
After this, we need to set up Master as a client using the following command:
mkdir -p $HOME/.kube
cp -i /etc/Kubernetes/admin.conf $HOME/.kube/config
chown $(id -u):(id -g ) $HOME/.kube/config
After that, we need to apply a network plugin so that Kubernetes can manage networks.
kubectl apply -f
https://raw.githubusercontent.com/coreos/flannel/master/Documentation/kube-flannel.yml
So finally we got our master ready. the Kubernetes will give us a token by using that token we can join Worker nodes to this master.
kubeadm token create --print-join-command
now we will apply this task using roles:
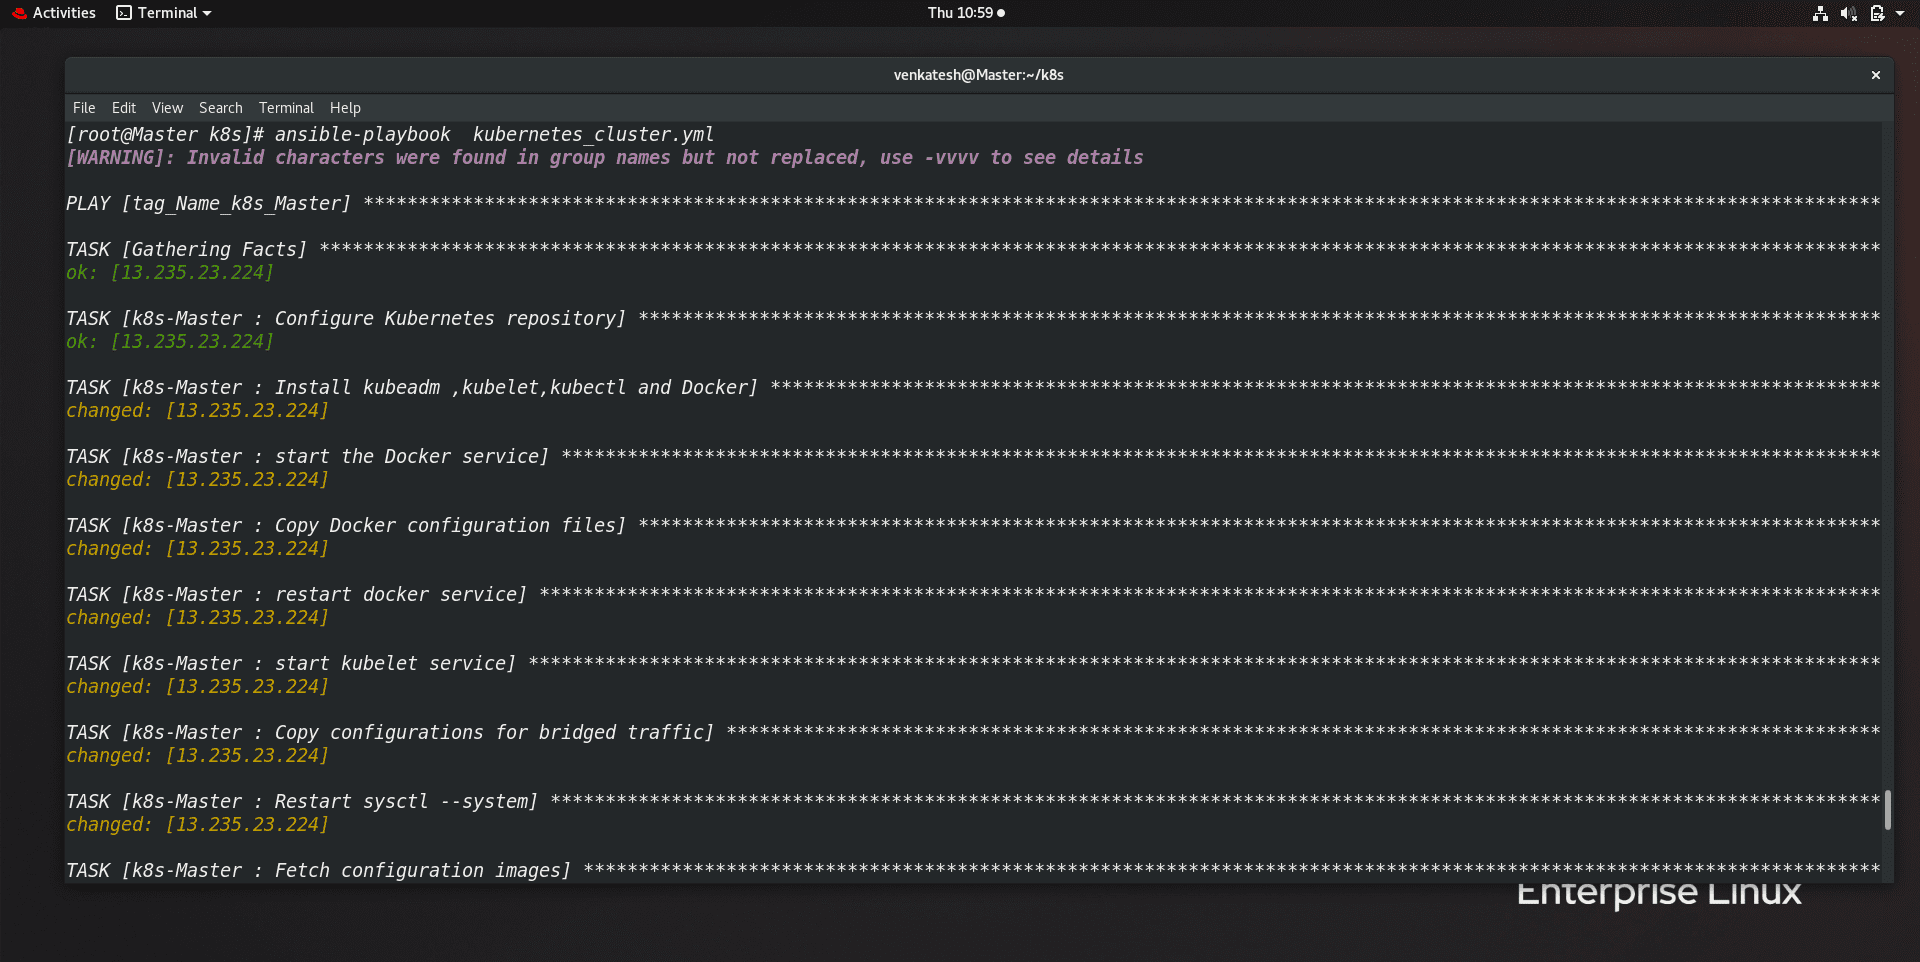
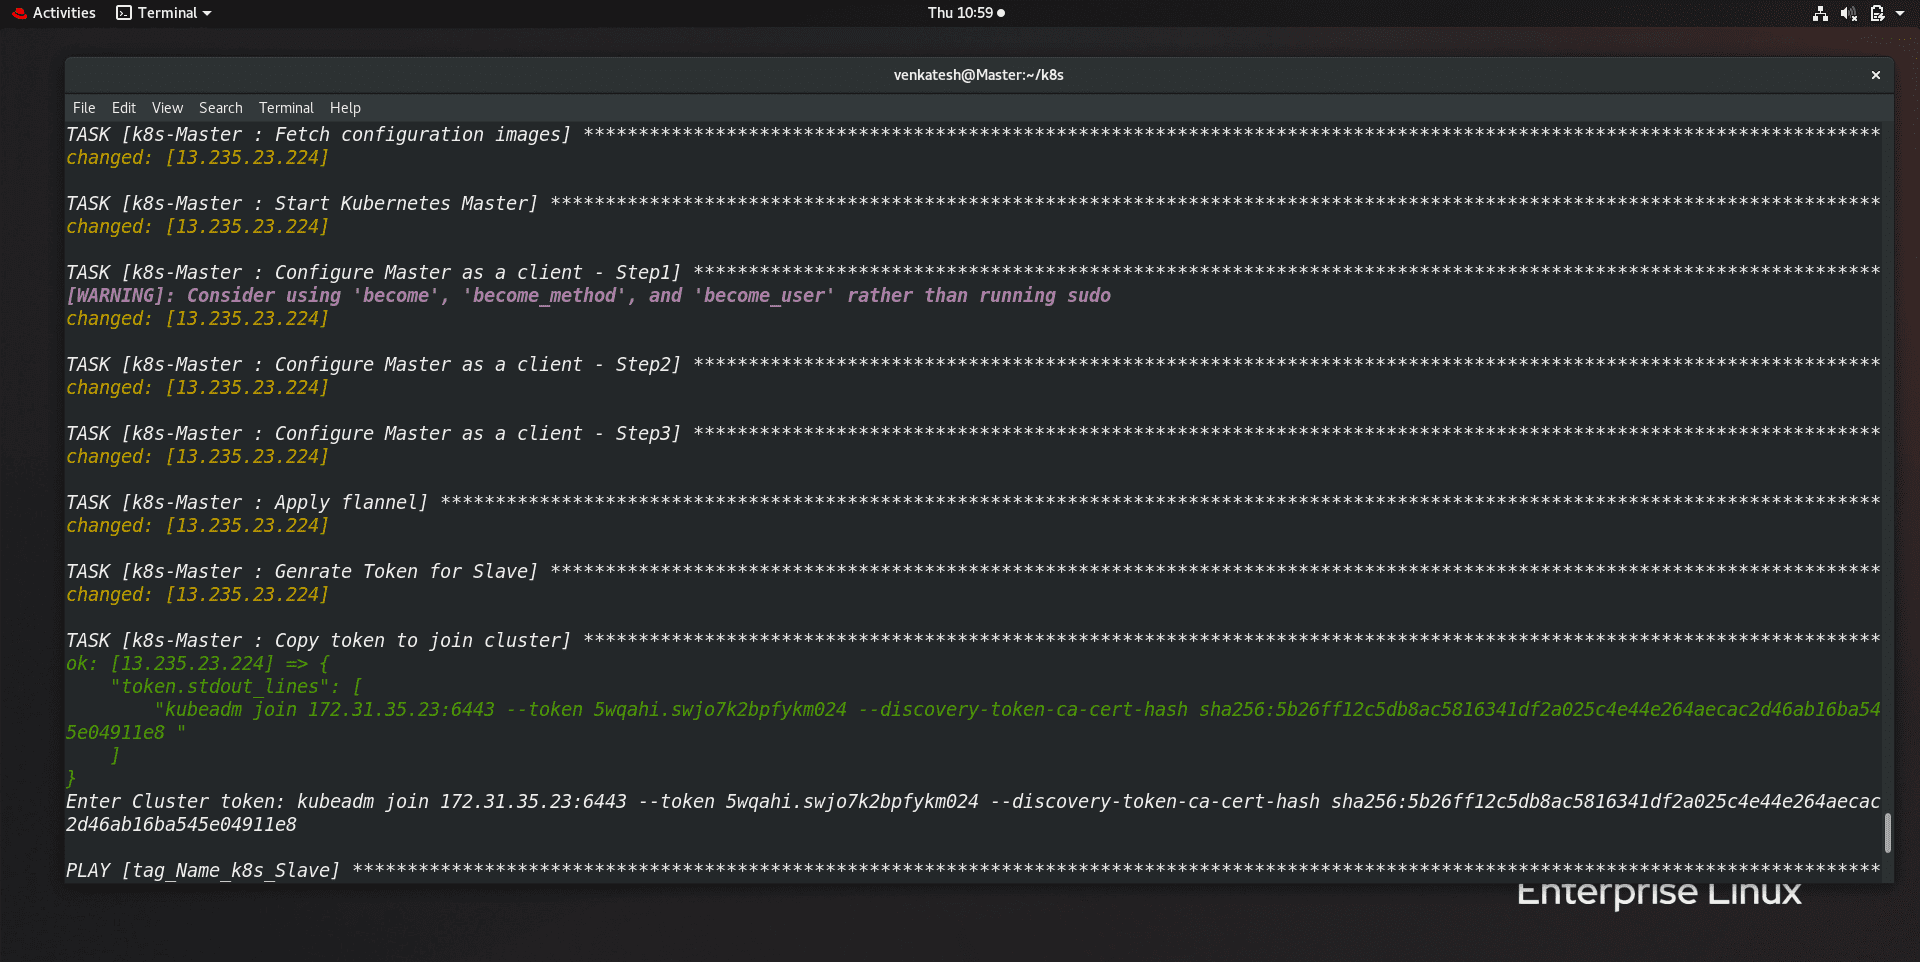
step3: Create k8s-Worker role.
Now, we will launch the role using an ansible-galaxy named k8s-Worker. all the settings are the same as Master but we don't need to initialize cluster using kubeadm and Master as client setup and also we don't need network set up except for this all the things are the same as Master.
At last, we need to pass cluster-token so that the Worker node will join the master. the token has already given by the last step.
so we will apply for this role.
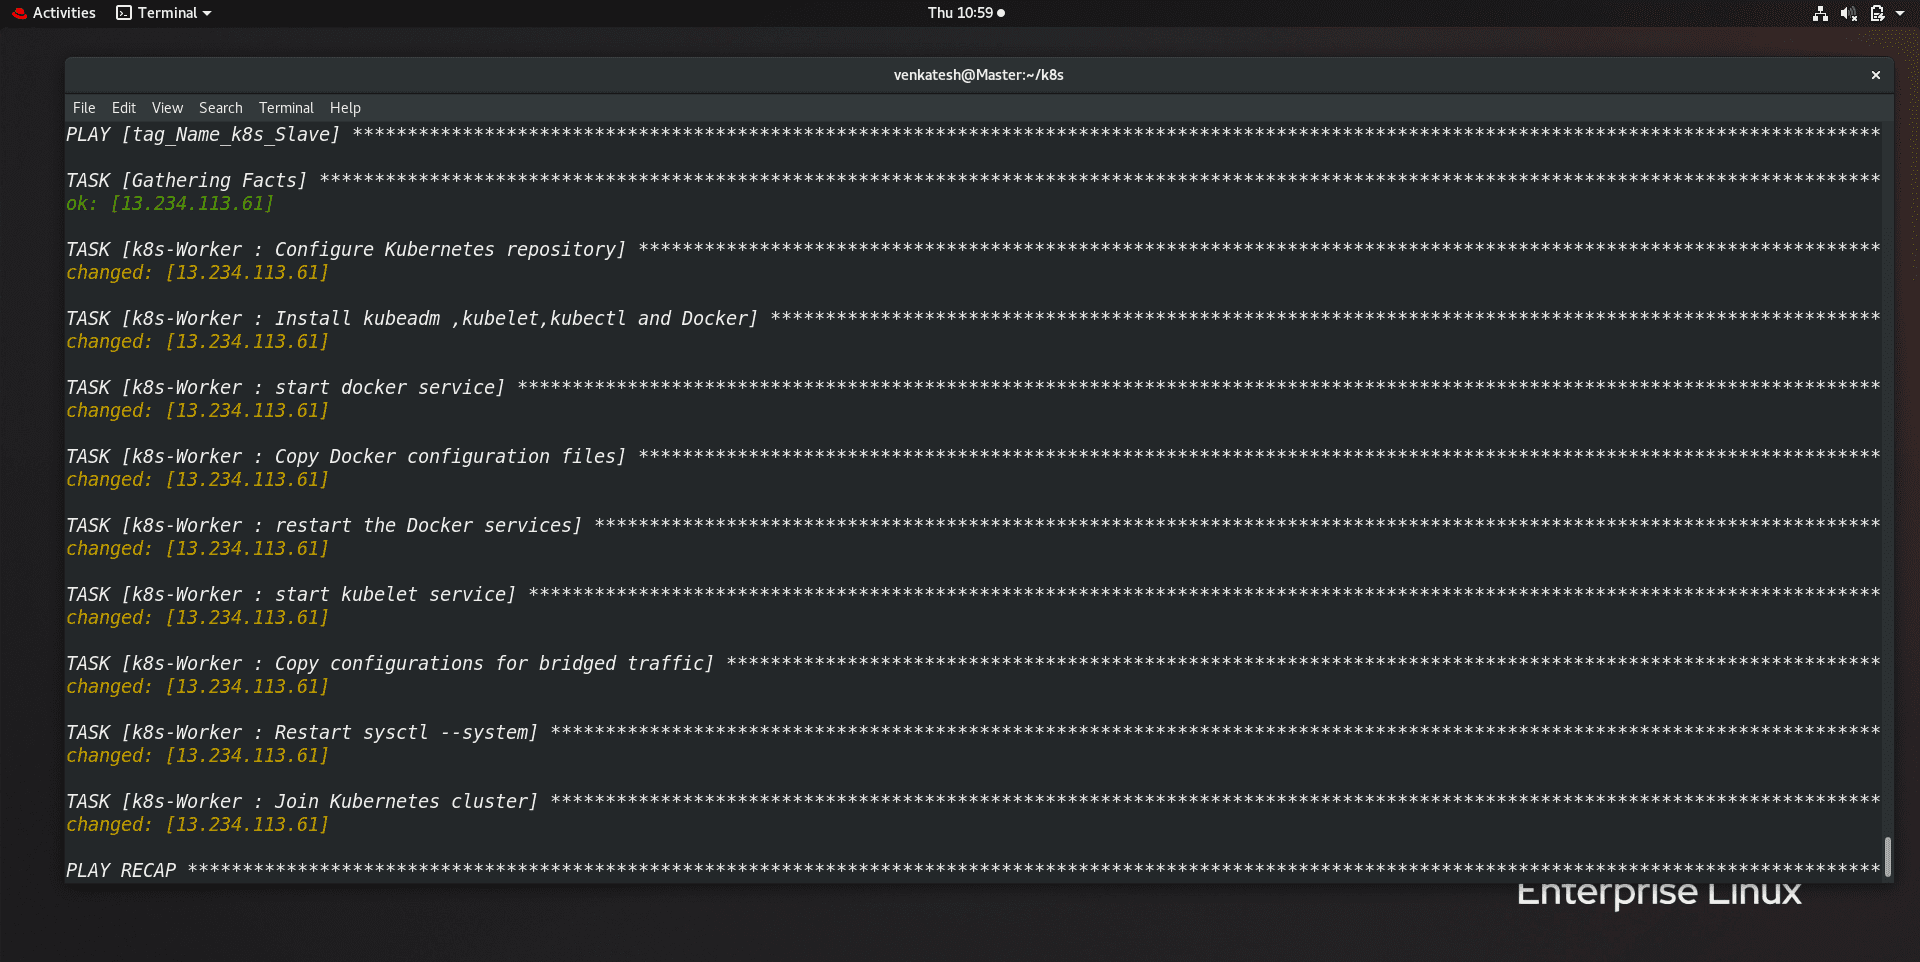
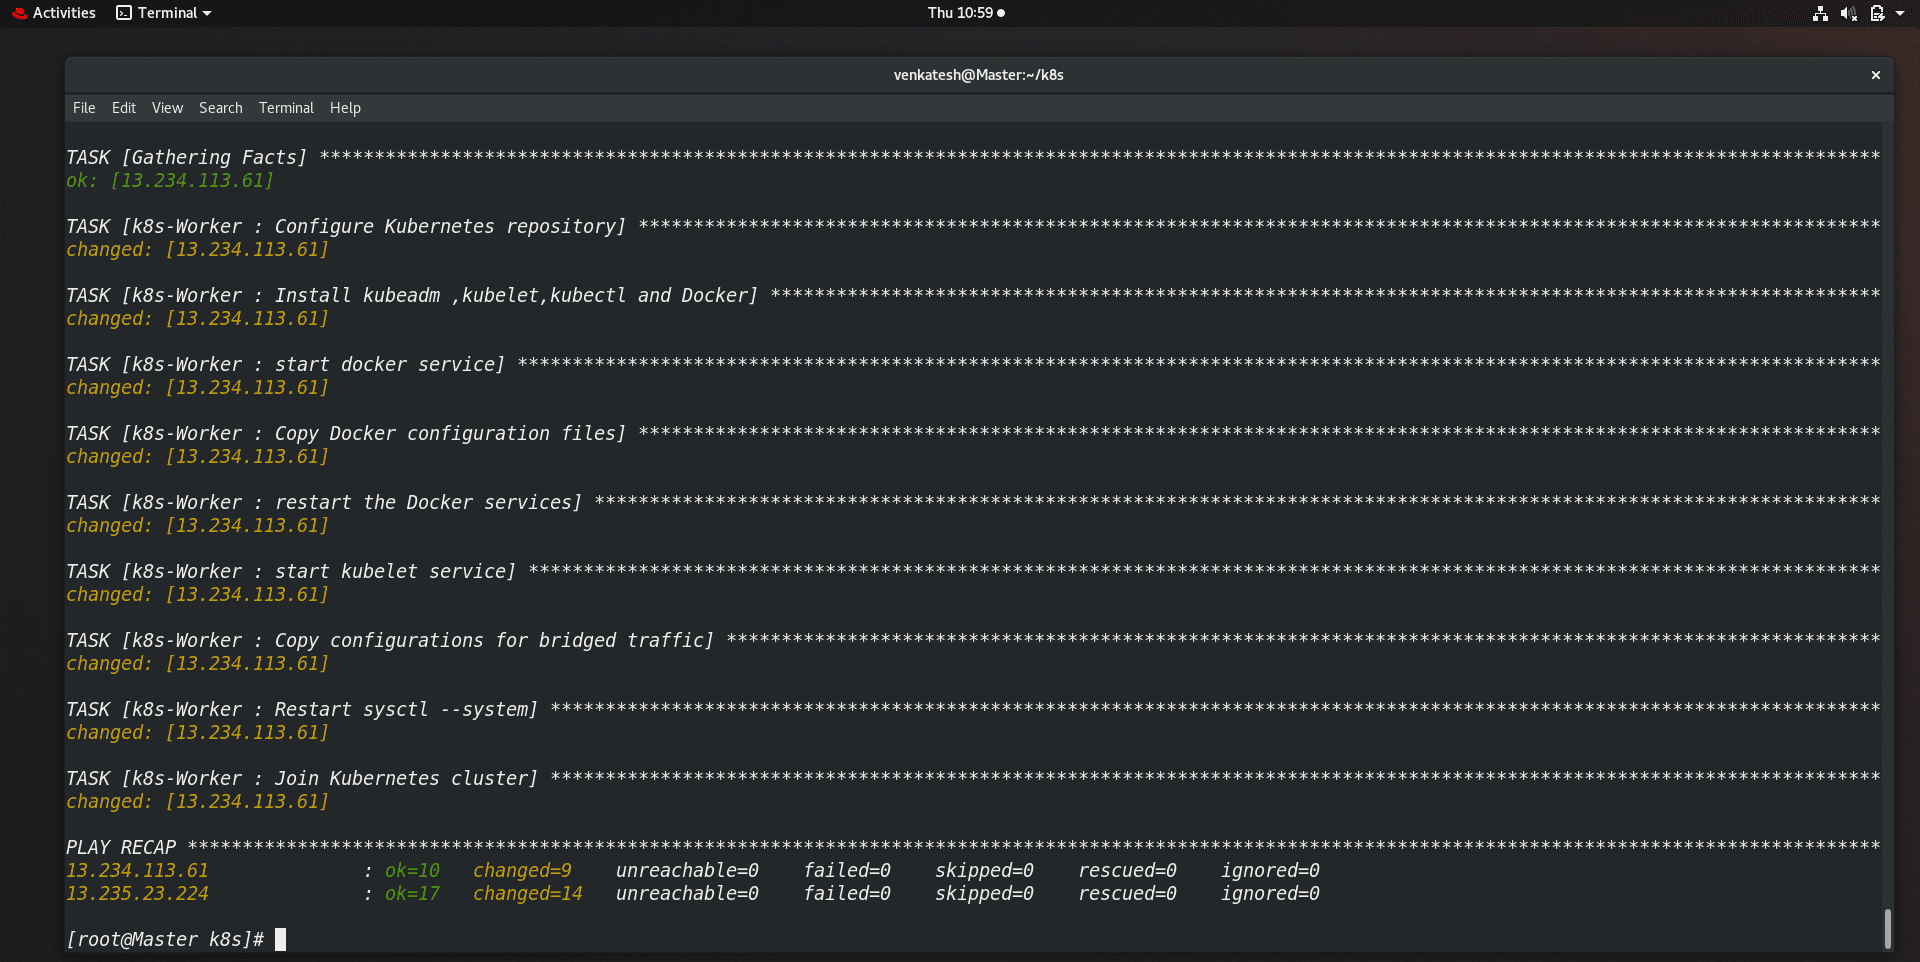
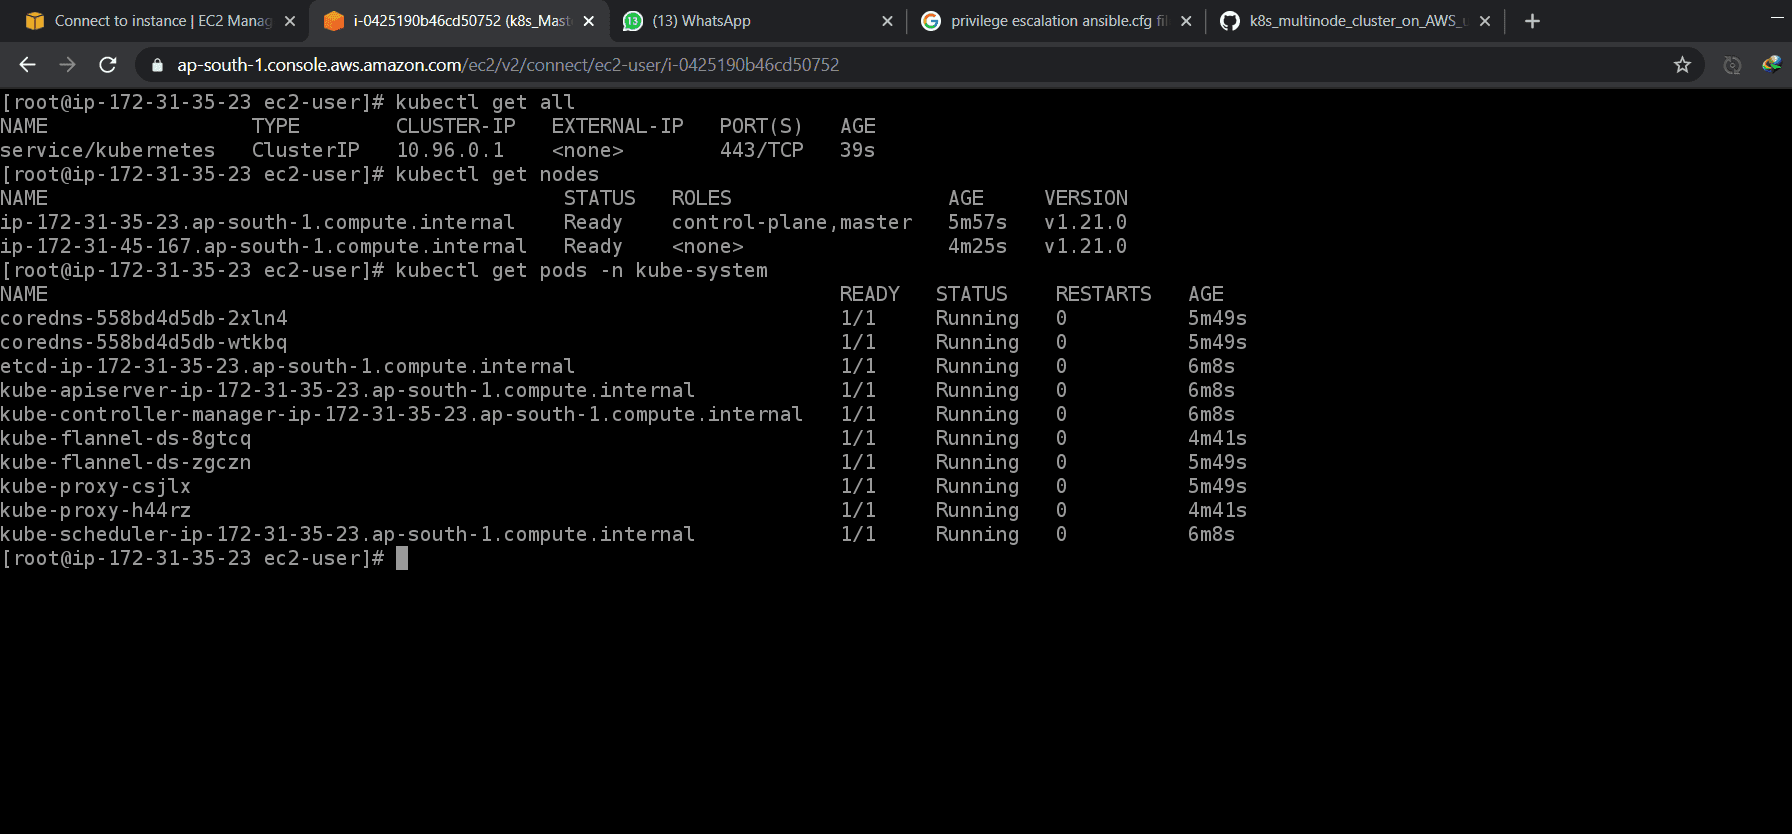
Finally, all the things are done and our Kubernetes multi-node cluster is ready to use.


GitHub Link:
https://github.com/venkateshpensalwar/MultiNode-Kubernetes-Cluster
Conclusion:
so in this way, we have configured a multi-node Kubernetes cluster using ansible over AWS cloud. if you do this manually it is very complex but using ansible it becomes very simple to set up.
Hope this blog is helpful to you!!!


No comments